Welcome to Artensoft Photo Collage Maker!
With Artensoft Photo Collage Maker, you can create a unique collage out of many photos. Your collage will consist of units of different sizes that are selected from your photo database by color using special algorithms by Artensoft.
Have you been puzzling over what gift to get for your brother, sister, mother, father, colleague, or your boss for their birthday, anniversary, wedding or other big days? Take advantage of this tool for creating mosaic collages of photos. Choose the main image for a collage, upload more photos to the photo database, and wait till your high-resolution collage with many details is ready, which you can print at any photo lab or on a printer. Take a look at the gallery of collages created in APCM: https://www.artensoft.com/ArtensoftPhotoCollageMaker/gallery.php
Creating nice-looking collages in APCM is simple. Follow our recommendations and the result won’t dissapoint you.
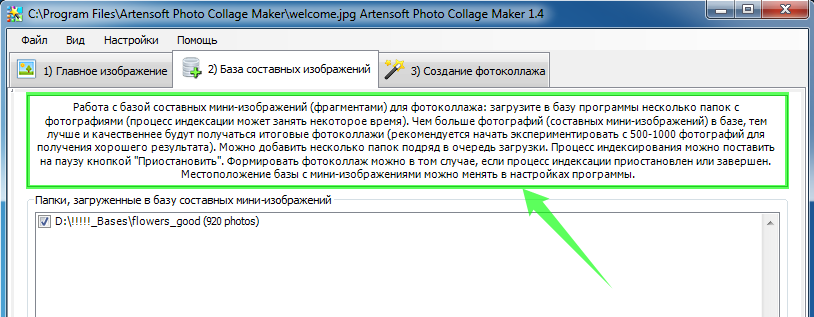
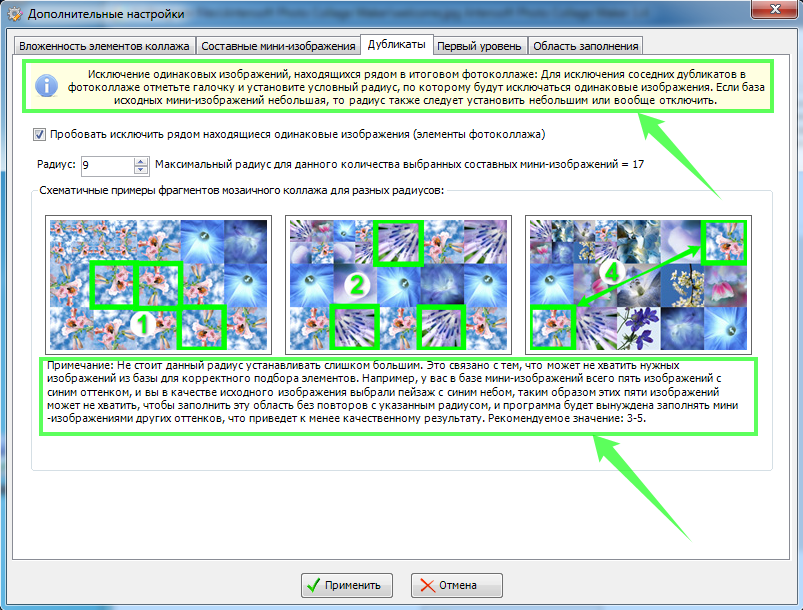
In addition to this manual, we strongly recommend that you read the information blocks with comprehensive description on each step and setting group in the program itself:
![]()

After installation, try to create your first collage using the program’s default settings.
The program includes five steps. Switch between tabs in order and follow the detailed descriptions of each step.
1) Choosing the Main Image for a Collage
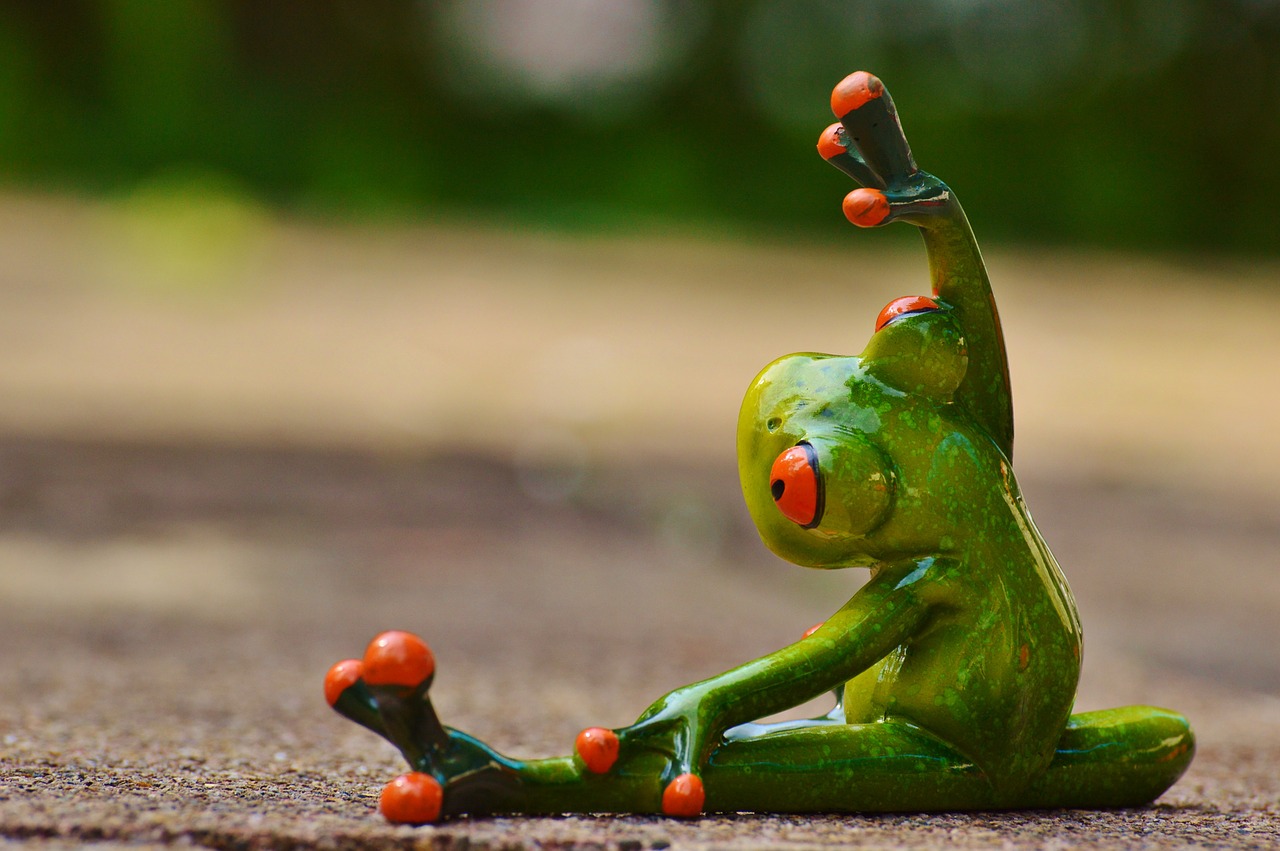
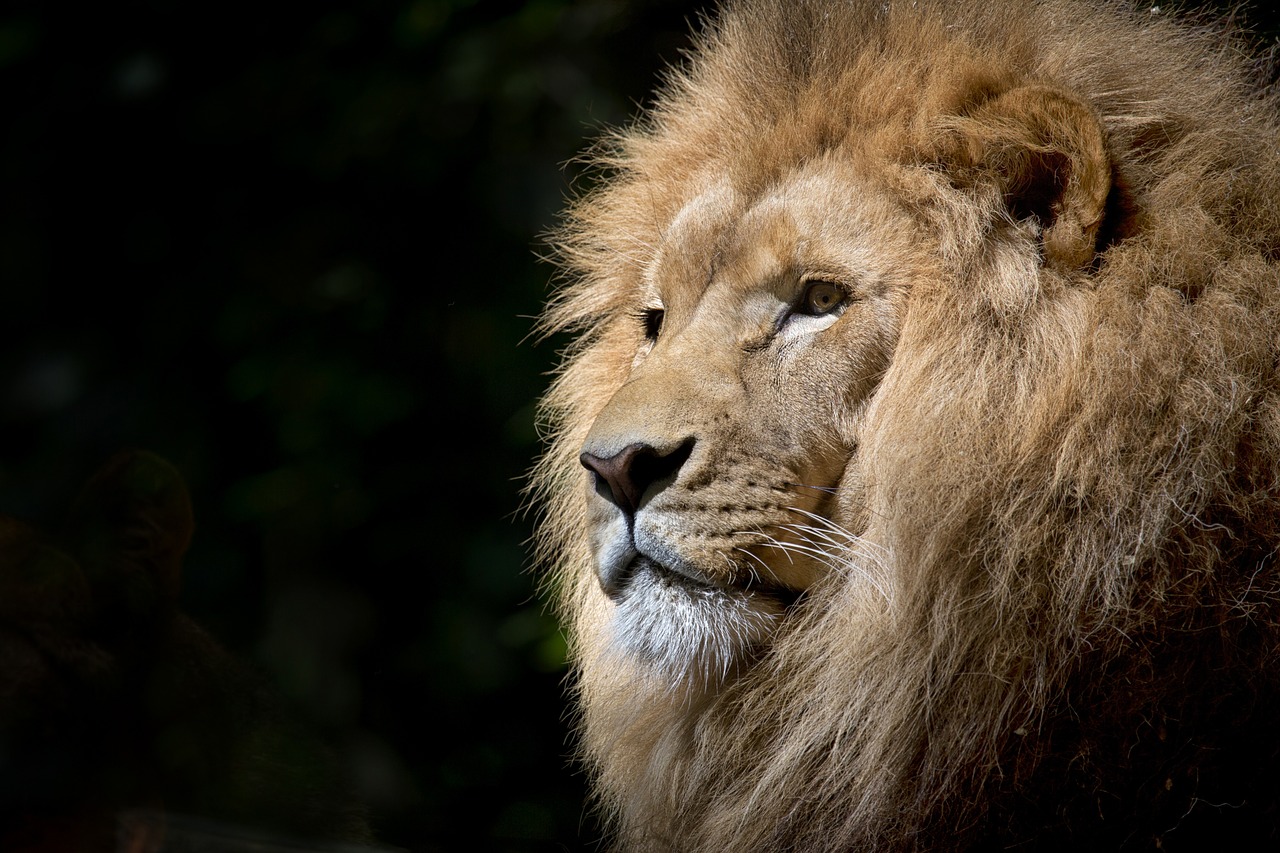
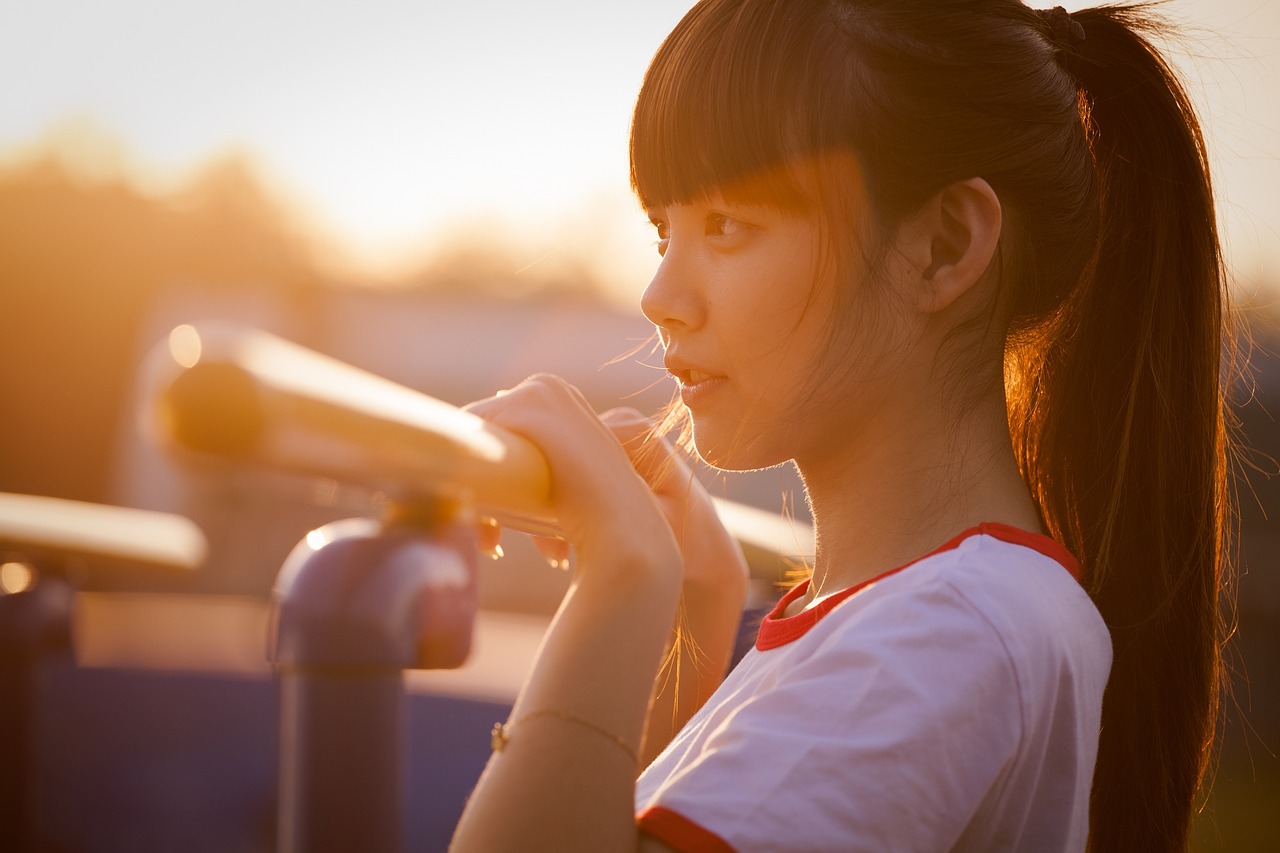
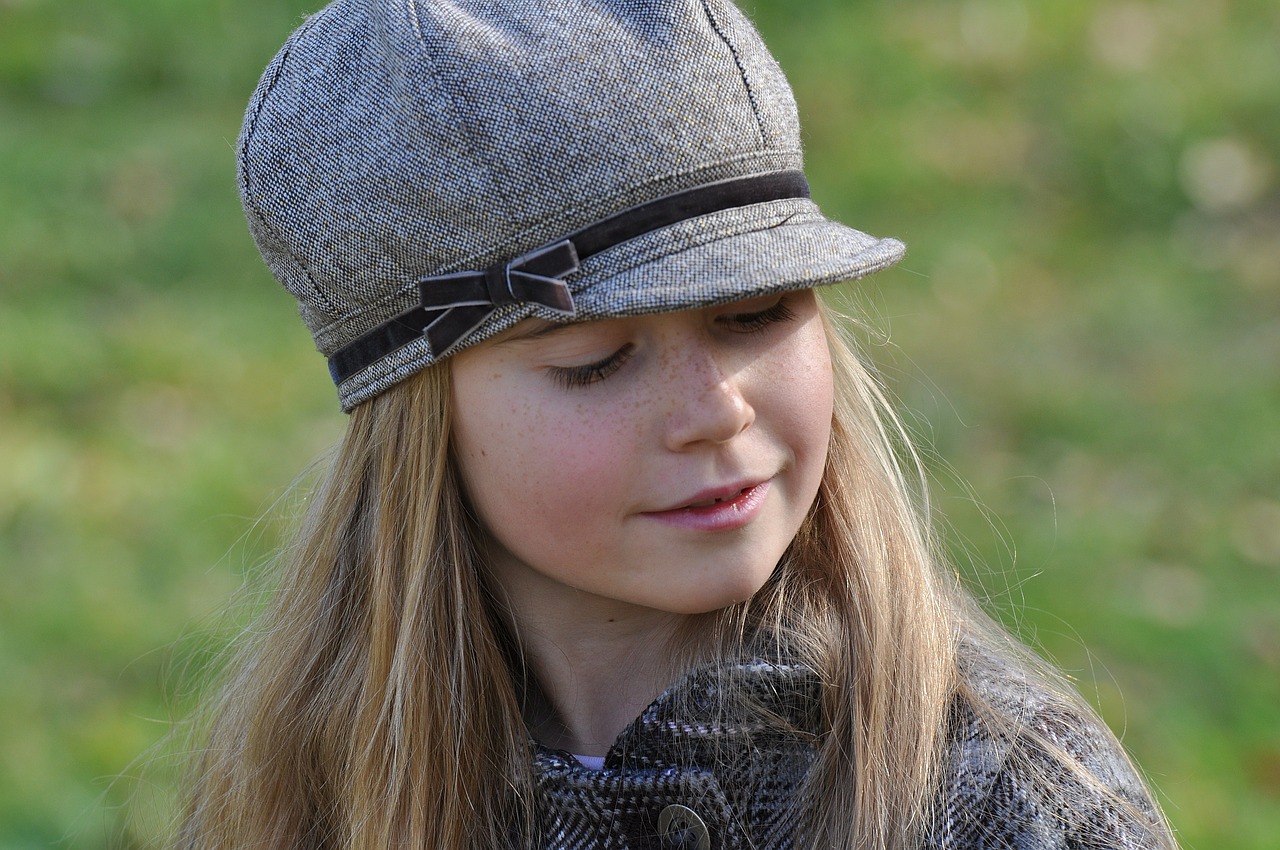
The source (base) image has a direct impact on how your collage will look from a distance. Small images that serve as elements for your collage are less important. Typically, it’s good to choose a portrait, group portrait, large object, logo, pet, writing on a simple background, car, house, poster, etc. Here are our main recommendations on choosing the main image:
- Firstly, it should be a photo that you and others would like. This means that its composition, theme and object should be good. After all, your ultimate goal is to create an artwork of a fairly large size that would be a true adornment of any interior, or a gift for someone, so it’s best to choose a picture that brings you the most positive feelings.
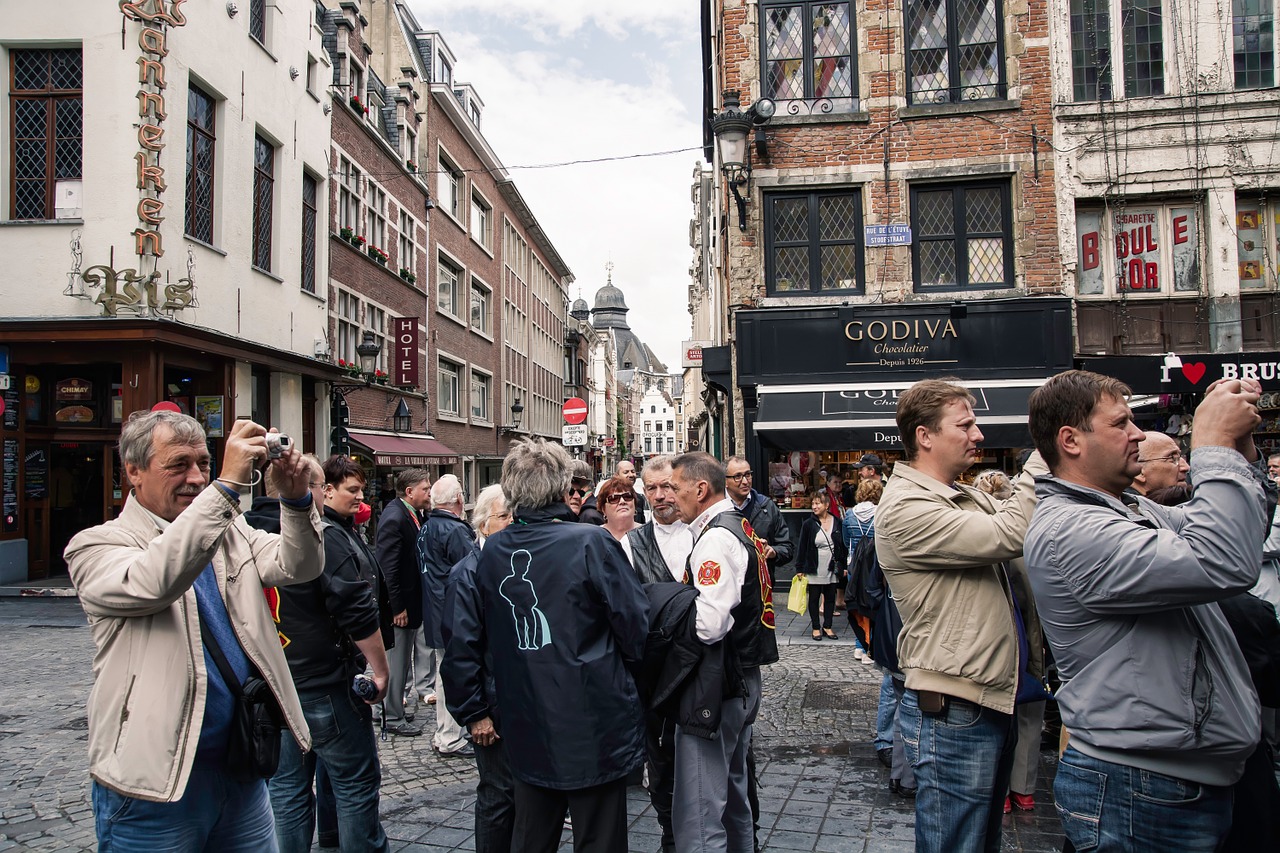
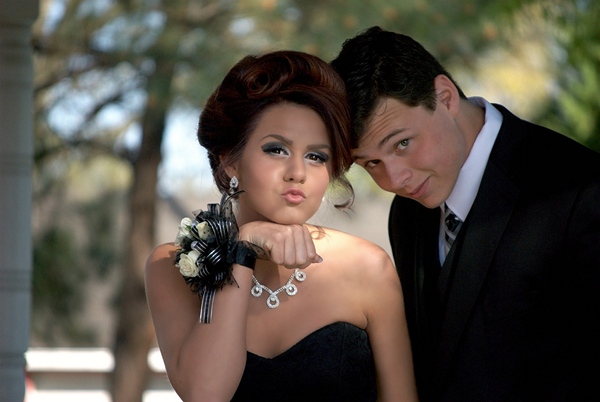
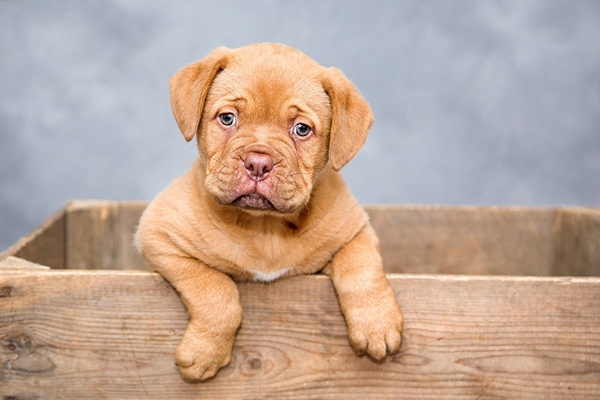
- Choose a close-up photo: portraits, macro, charming pets’ faces, i.e. photos with not many small objects. The program automatically arranges small and large units on the collage. That’s why if you choose the main image with many little details, they will take up a considerable number of small units, and there may not be much left for the really important details on the collage, such as contours of the eyes, lips, etc. And to make these details look good, elements will have to be a lot smaller. In this case, it will be hard to distinguish them in a printed form. That said, using a group photo with more than 3 or 4 people isn’t the best option for creating a collage, but a large portrait of newlyweds or of your friend is an excellent choice.
Examples of good photos for a collage:
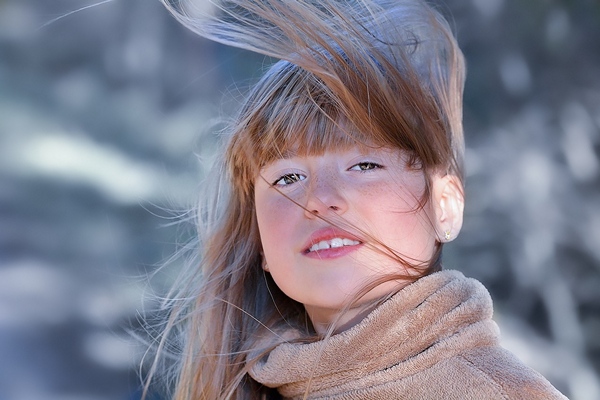
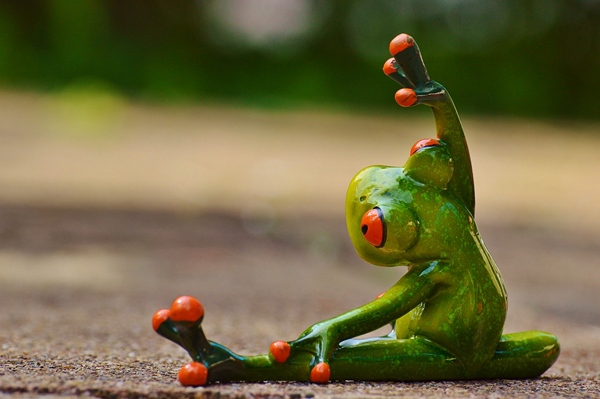
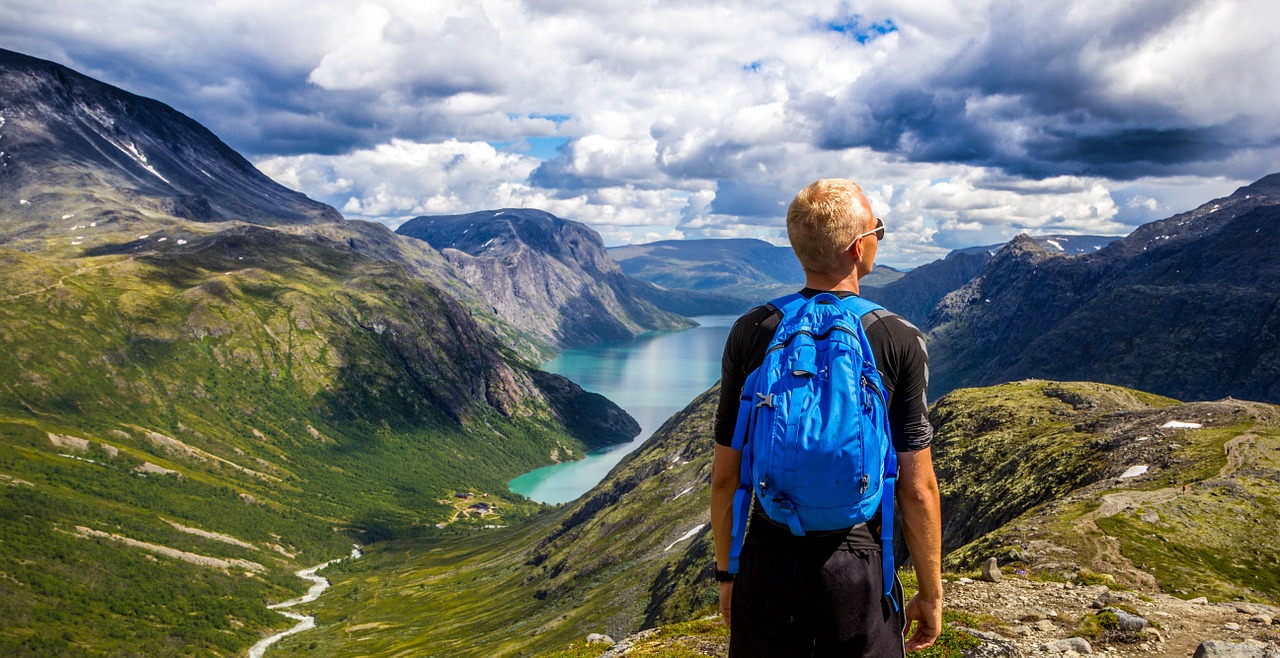
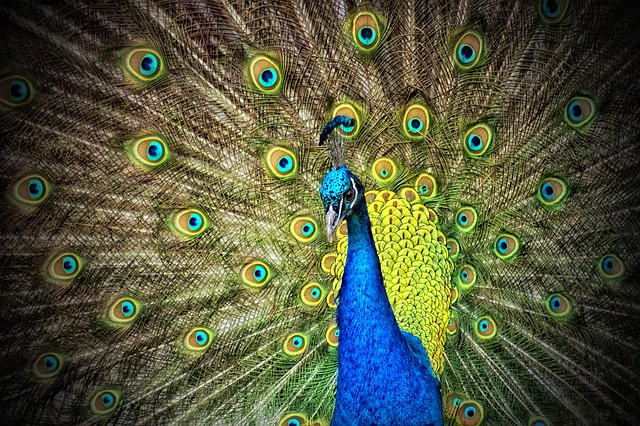
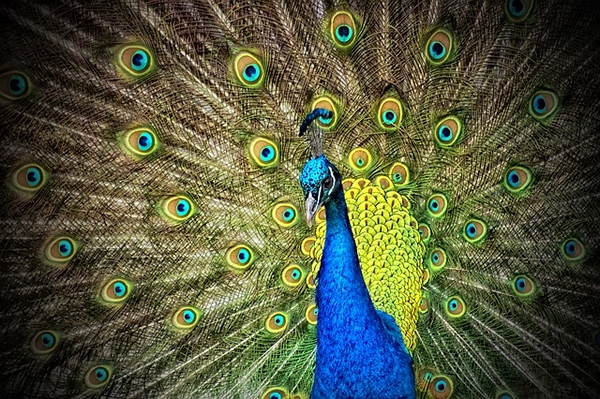
Examples of bad source photos with too much detail:

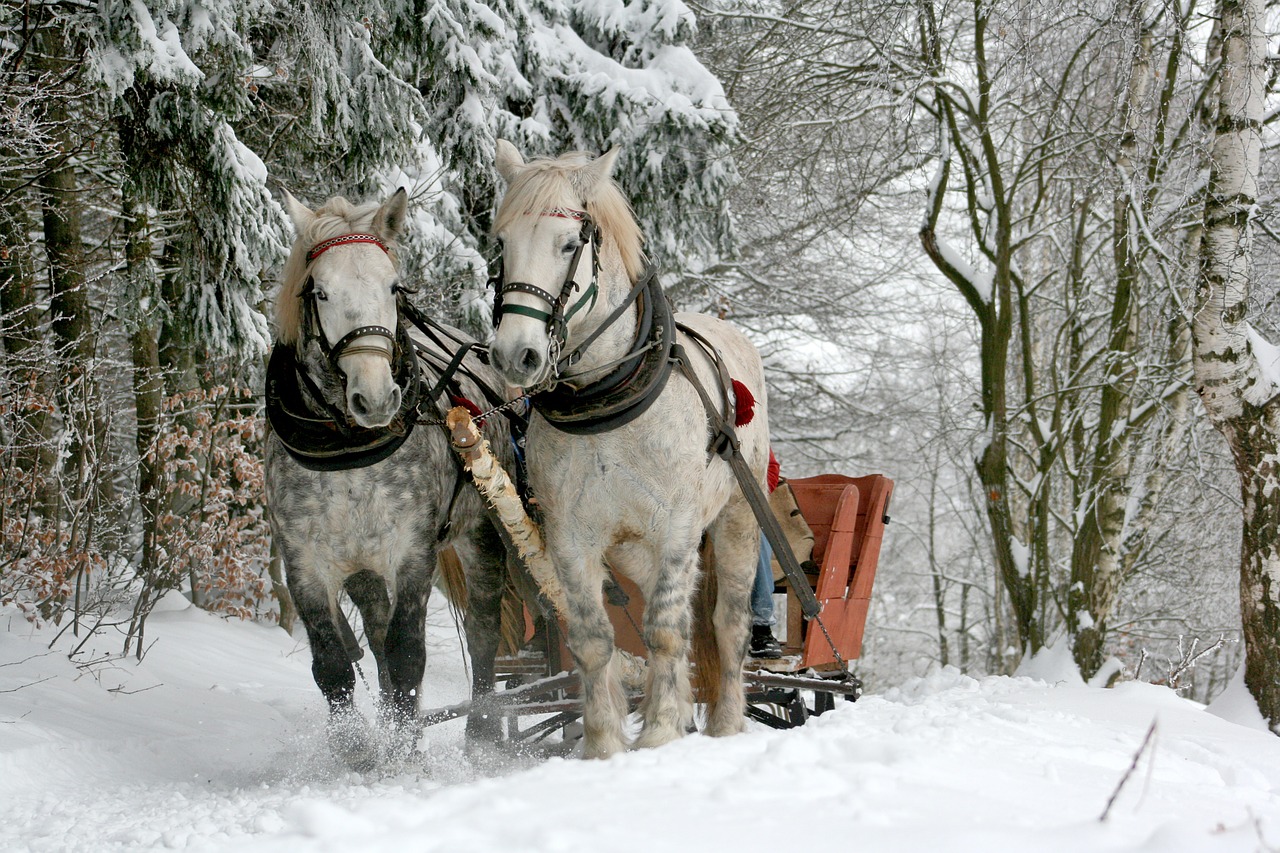
- It’s great if your photo is sharp enough. More specifically, the sharpness is important only for the main object on the photo, for example, a person, if it’s a portrait, or, say, a flower, if it’s a close-up. But background and other secondary objects shouldn’t be in focus, so that large units with least detail will fill its blurred background, and medium and small images will look best on its sharp parts. If a photo’s background is mottled, you can fix it by manually blurring it and other unnecessary detail in Photoshop or other photo editor, and then use an updated image.
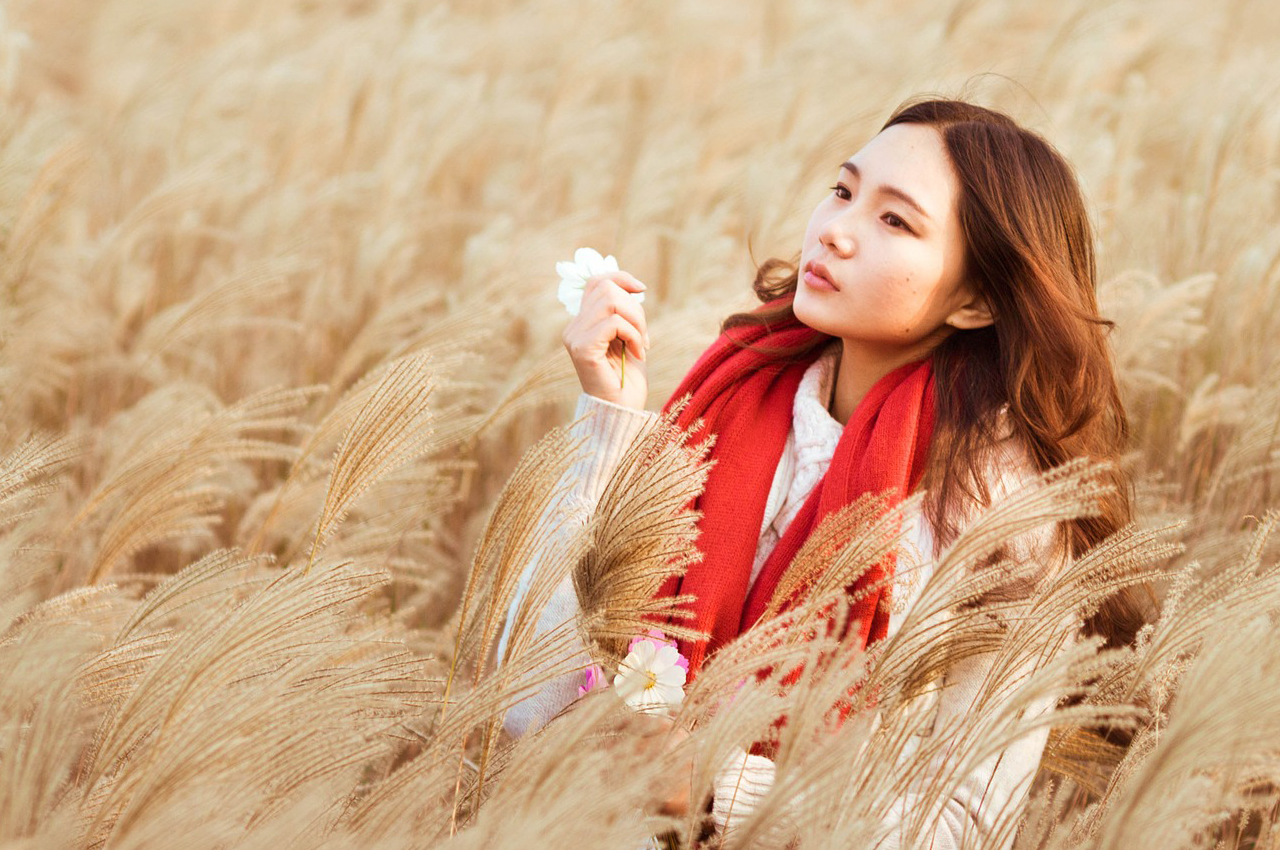
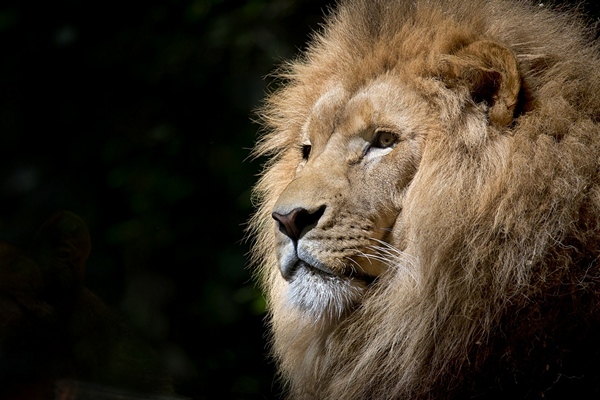
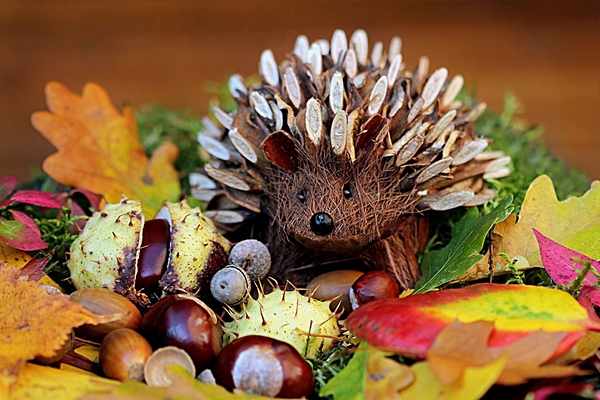
Examples of good photos for creating a collage:


Examples of bad images for a collage:
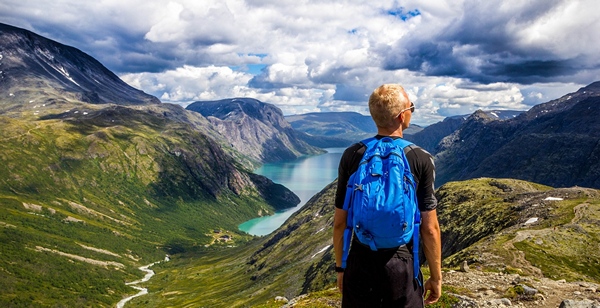

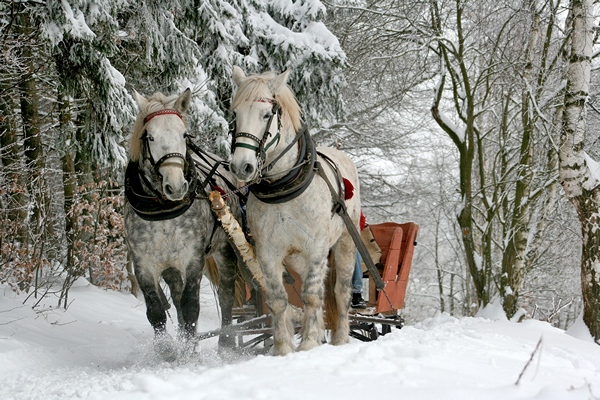
Example of the main image with blurred blackground, which helps to create a more sharp collage where the main object consists of smaller blocks:


- The image’s contrast is important. The more contrast, the brighter and richer colors, the more colorful your collage can be. Color jumps can be very effective in highlighting the main object: a bride’s white dress with green grass on the background, or a red rose with blue-blue sea...
- Try to choose the source image so that a collage you create on its basis not only becomes a beautiful picture, but also conveys some idea. For example, if you want to create a collage as a gift to your loved one for the anniversary, use her portrait as the source image and make it consist of thousands of flowers. If your friend is a car enthusiast, he should like a collage with his favorite car brand, an avid cat person will enjoy a collage of cats.
- It’s not recommended to have the main image in high resolution. An average 800*600 pixel sized image will be enough. The size of the main image doesn’t affect the quality and detail of the resulting collage. Having the main image of a small size will free up some memory to let you save your collage in higher resolution.
2) Uploading Photo Database with Small Images
A basic rule you should remember when importing small photos that will be used to build your collage - is that the more photos you upload, the more detail and the better color reproduction your collage will have. The resulting image will only benefit from using 1,000 photos instead of, say, 50. If you have a photo database with only 50 pictures with blue background (such as photos of blue sea), and the main image is a portrait, it will be difficult for the program to match the colors of mostly blue images with the skin tones on the portrait. To make a collage look good, upload more small images so that there are enough photos with various colors. The more photos, the richer color pallette your collage will have.
If you are making a gift to your friend, collect more photos by asking his family, friends whether they have some holiday pictures with him, or photos from some events, etc. Download photos from his social media pages or find them somewhere else.
If there are still not enough small photos, you can add some neutral pictures to be used in the collage (nature pictures, flowers, landscapes, etc.). You can download photo collections by following this link:
https://www.artensoft.com/ArtensoftPhotoCollageMaker/photobases.php
The less small photos you upload, the more repeats of them your collage will have.
When you import and index photos into the photo database, they are automatically centrally cropped to 1:1 aspect ratio. If you have a lot of vertical photos where an important object (e.g. a person’s head) is located on the edge, it can be cut after importing. To avoid this, remove the images you uploaded, then manually crop only problematic photos so that they have 1:1 aspect ratio, and use them when importing into the photo database. Typically, you won’t have to manually crop all pictures. There are usually only a few problematic photos, and they can be prepared for importing into the photo database pretty quickly.
The more pictures you have in the photo database, the more you’ll have to wait before the program finishes constructing and saving your collage. That said, we recommend you to use all the images you have. Don’t remove them intentionally since it can reduce the quality of your collage.
3) Configuring and Launching the Process of Building a Collage
It may take more than one try with changing the settings before you create a nice collage. Make sure to keep them balanced.
-- A collage will consist of large units if there are not enough of them. Each element will be clearly visible, but this collage will look too mottled from a distance, and the main image will be hard to distinguish.
-- A collage with too many units isn’t good too because they will be tiny, and it will be hard to see anything in each of them. This collage will look nice from a distance, and the main image will have perfect detail. But this collage may defeat the purpose of a mosaic since small images are too tiny to see what pictures were used to build this collage.
As a user of this program, you should find the most balanced settings for your collages yourself. Units shouldn’t be too large or too small. We can recommend to use the following combinations of parameters to create good collages for various matchings:
Nesting levels: 1 Base units: 700-2000
Nesting levels: 2 Base units: 800
Nesting levels: 3 Base units: 500
Nesting levels: 4 Base units: 250
Nesting levels: 150 Base units: 5 (using 5 levels is not recommended)
Don’t build collages with extreme settings (e.g. 2000 base units and 4 nesting levels), it can lead to errors in the program because the number of units can be extremely large. Besides it defeats the purpose and idea of a collage, which will consist of such a large number of small images. If you need to create a custom collage with an extremely large number of units and in very high resolution, and the program isn’t able to construct this collage properly, please contact our support and tell us about your project. Artensoft has its own methods of constructing technically demanding projects.
4) Preview and Fix a Ready Collage
At this stage, some minor fixes to a ready collage are usually made. For example, replacing one photo with another in specific areas, such as glare in the eyes, lips, and removing large units in favor of smaller diverse pictures. If you found some unwanted small image frequently repeated in the collage, you’re better off reimporting your photo database rather than manually replacing these units with another ones.
5) Saving a Collage to a File
If you are preparing your collage for printing, choose the highest resolution when saving to let the program save it in the best quality available depending on the amount of video memory installed on your PC.
Don’t worry about the DPI of the resulting image. An expert in any photo lab knows how to prepare a high-resolution image for printing and convert this image to the desired DPI without quality loss. The only important parameter when saving is resolution in pixels. Thousands of users have already taken advantage of our program for building high-resolution mosaic collages for printing on a poster, picture, or even a wall. Ready collages with average settings are 11000*11000 pixels or more. Images of this size are mostly enough to print in any wide format. The quality and detail of this collage will be excellent, provided that the printer supports such image quality.
|

")


 Support for 64 bit processors